Chapters:
Back to family picture index
Next album (2011)
July 2009 Remodel (start)
Aug 2009
September 2009
More September 2009 (family pix)
October 2009 Remodel done, and moving in!
December 2009 & Christmas
January 2010
Thru March 2010
April 2010
May 2010
June 2010
July 2010
August 2010
September-October 2010
November 2010
Just for context, here's a "before" of the carport from a couple years ago.
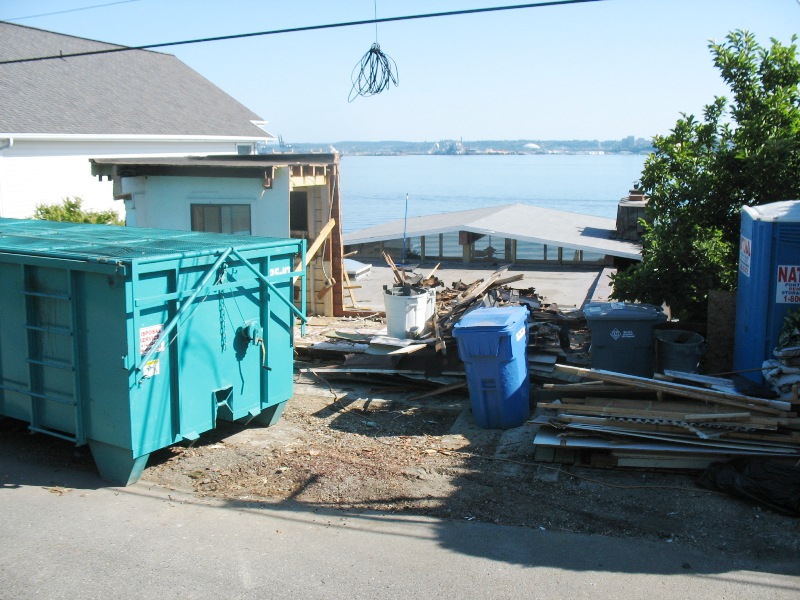
Within the first couple hours of work, Brian and Lance had the carport collapsed so the dumpster would fit in.
At the end of day 1, the big green dumpster was filled, and the shed mostly deconstructed from the inside out.
More of the shed is gone.
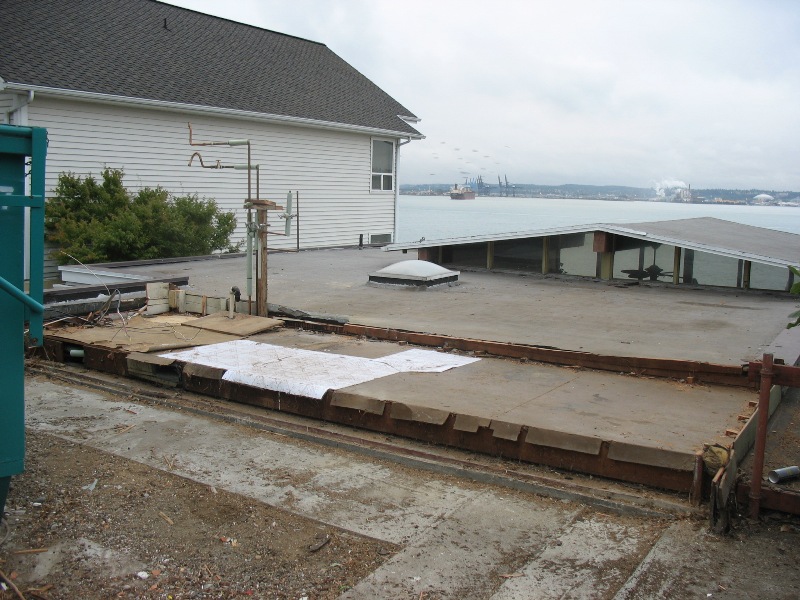
All of the shed is gone! What's left are some plumbing and wiring stubs. This was done by Wednesday night, day 3 of the project.
Natalie's bedroom, partly deconstructed. You can see the mountain of dietrus in the foreground.
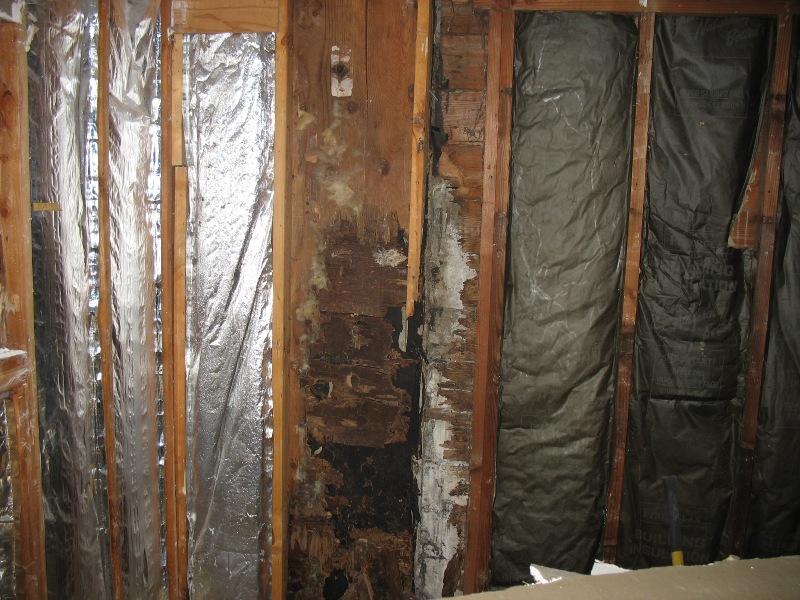
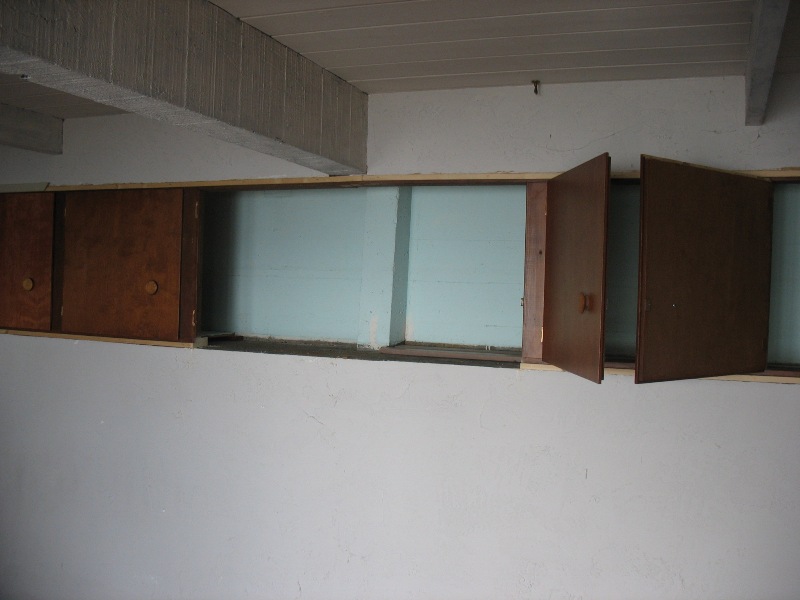
General view of back wall of upstairs bedroom, with a goodly amount of rot caused by water infiltration from years past. More on that later.
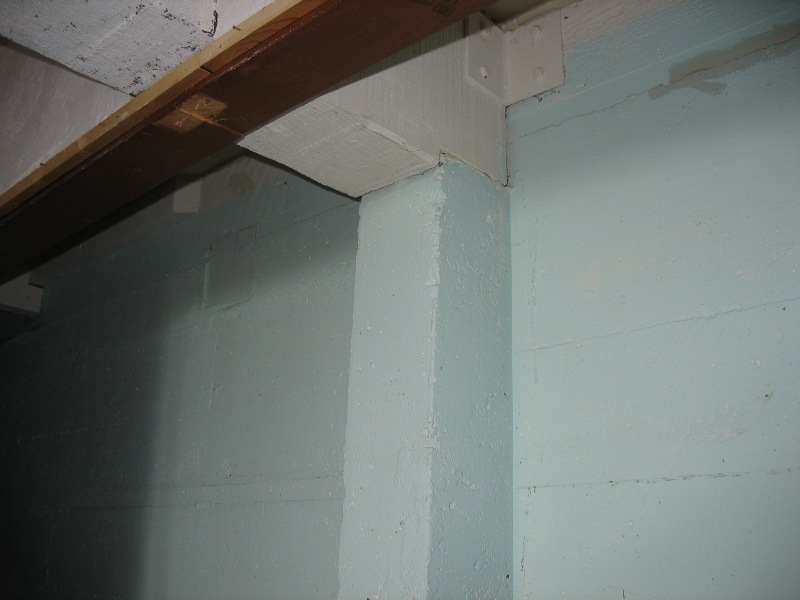
Natalie's bedroom back wall, more of the insulation is gone. There is a vertical break between parts of the retaining wall that were poured separately. The break extends the full height of the wall (I think). At this time I didn't see any rebar tying the sections, but more is left to uncover. The contractor proposes to pour hydrostatic cement in the crack to seal it. The cause of the rot was probably water flowing down from the top (rather than groundwater) because when they moved in, drainage wasn't paid much attention to. Plus this section dates from around 1948 so the damage occurred over a long time. There is no evidence of movement of the two wall sections in relation to each other.
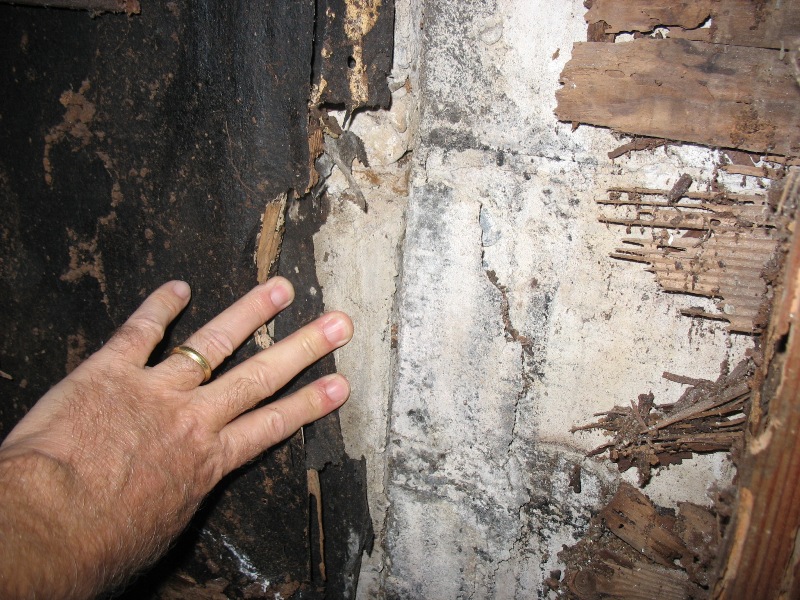
Closer view of the above. Parts of the joint between the two have some contact / stress fracturing along the plane of the outer wall surface.
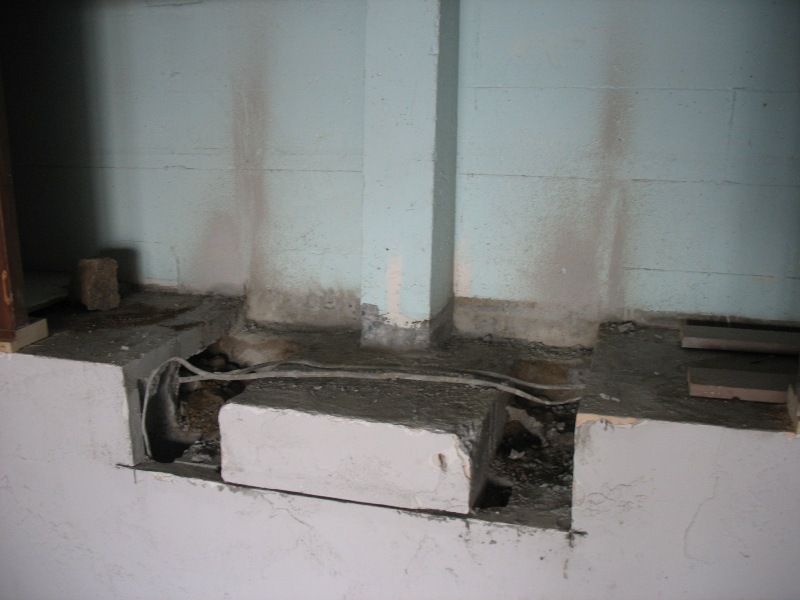
A series showing the footing area inside the downstairs bedroom. This is the before picture. The white wall at the lower portion is a concrete-block plus concrete face and top retaining wall, and the blue wall and post inside the closet is a cast concrete post supporting the horizontal beam and the vertical 6x6 heading upwards from there.
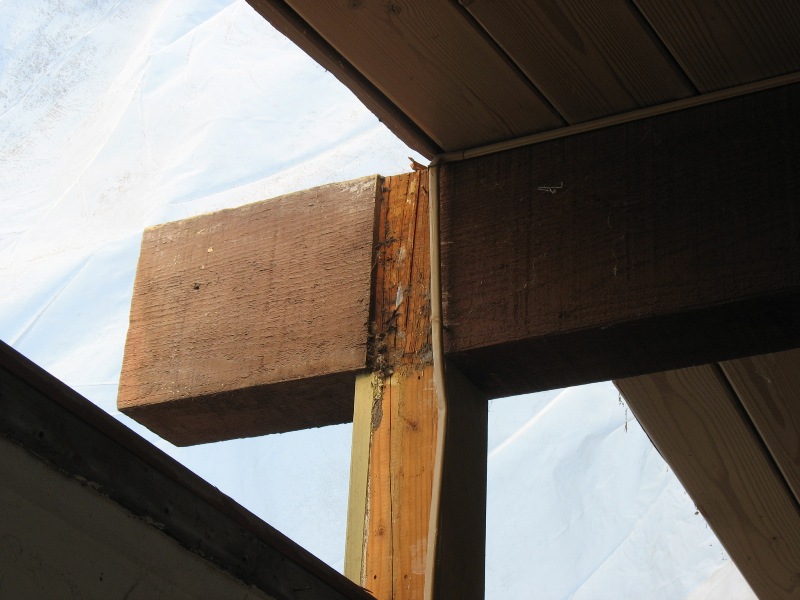
Detail view of the above, where the structural pieces intersect.
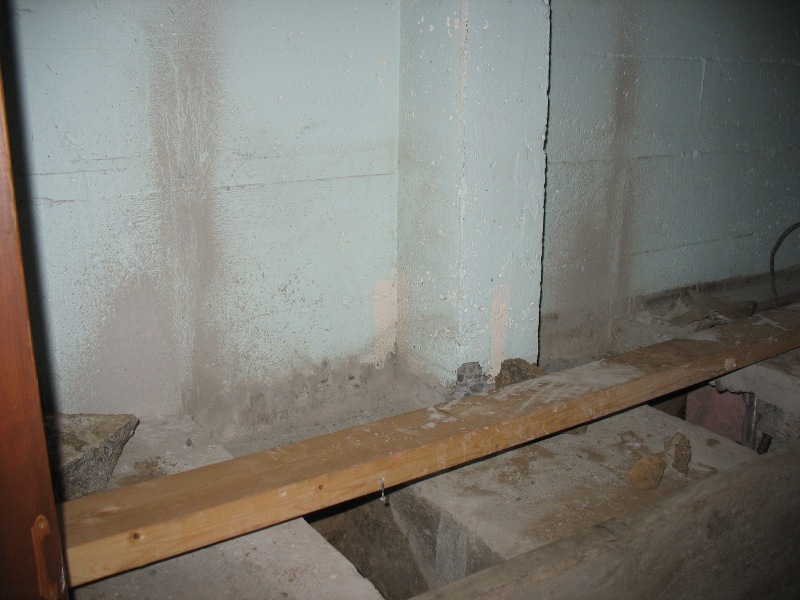
Step 1: cut out retaining wall and surrounding slabs etc. to get at the footing underneath the bearing post.
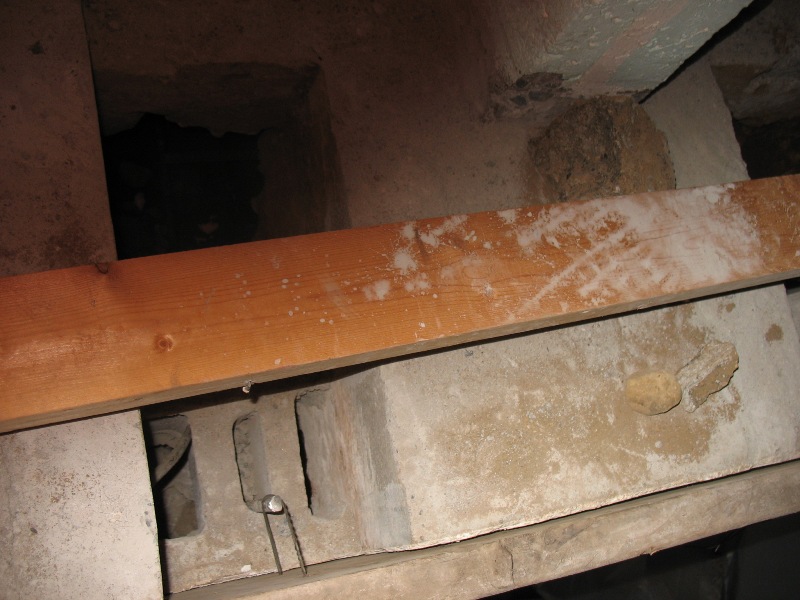
Looking downward at the footing area with the form installed. The concrete will come up to the top of this surface, and surround / underlie the existing footing.
A front view, showing the wood form covering the wall cut-out.
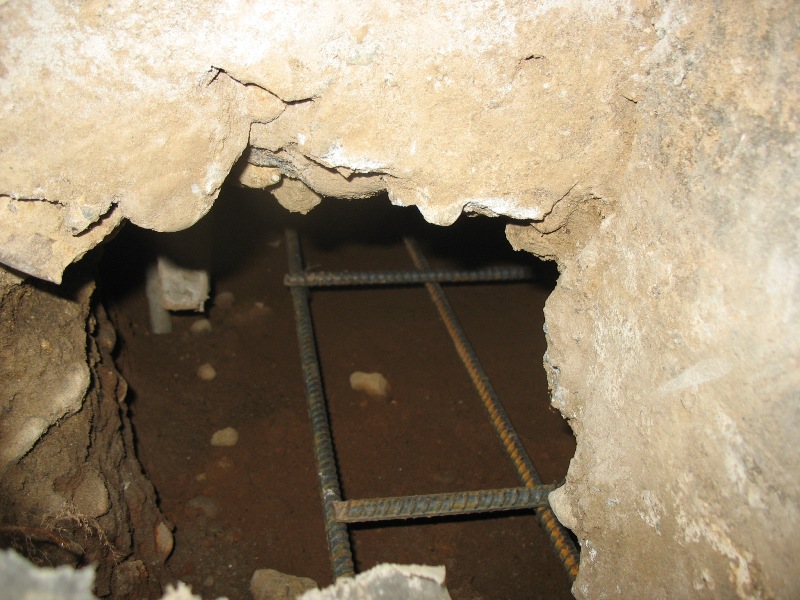
Looking down, underneath showing the rebar and excavation area. A County inspection has been called for. The concrete guy attests they were able to build this per drawing, so he seems confident it conforms to the engineering and plan.
Looking down at the right side of the footing.
A "top view" showing the concrete block wall parts, and rebar extending within.
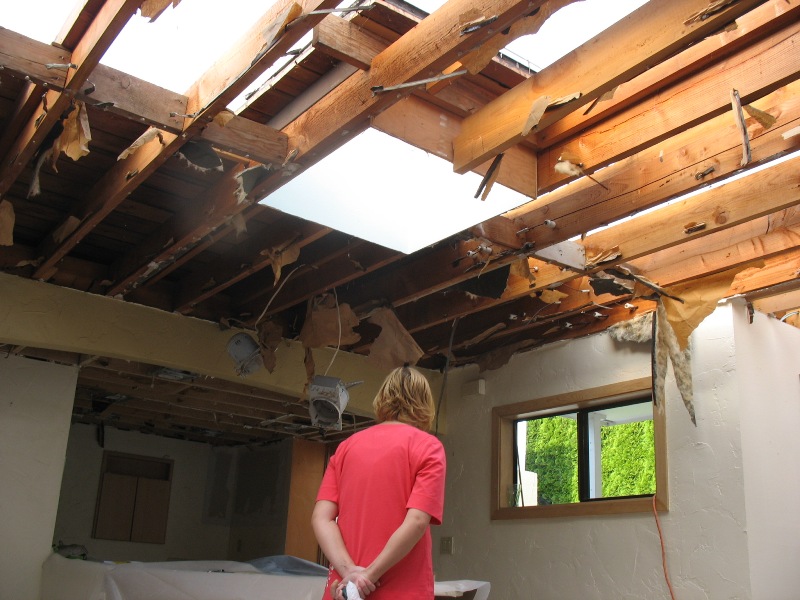
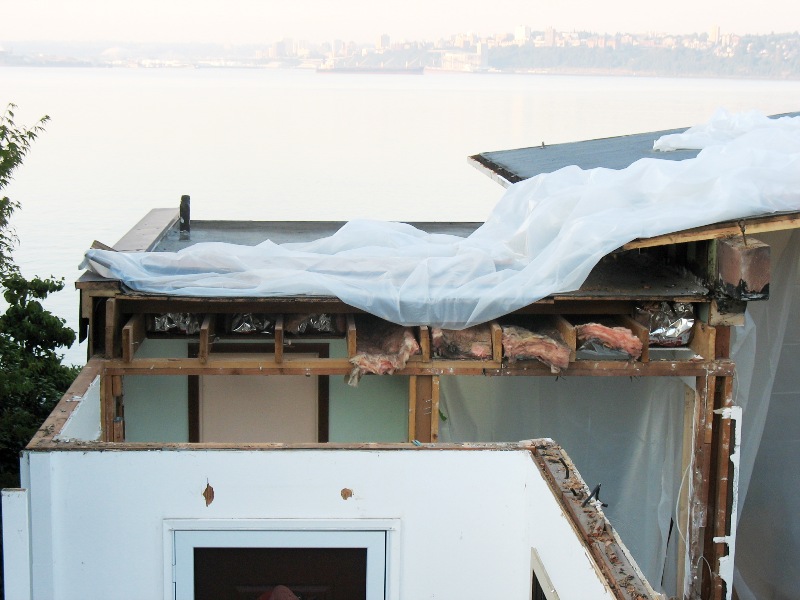
At day 5, Sara is looking up at the absence of the skylight, and the ceiling joists with the roofing removed above.
The main living room ceiling beam was supported by an odd assembly of various 2x6's, this will be replaced by a solid 6x6 shortly.
Looking south across a flatroof section that will be replaced eventually by a pitched extension of the roofline to the right. We'll top it with "torchdown" unless metal roofing can be afforded.
The roof it completely gone. This was taken on 7-29-09, which is day 8 of the project. Note the roof beam which is temporarily supported by three 2x6 posts.
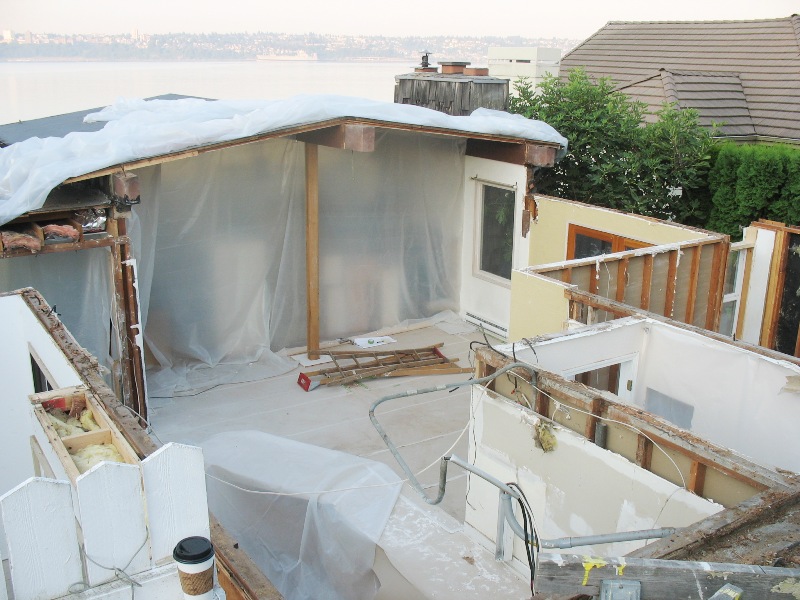
Looking down into Natalie's bedroom. A new opening is planned to replace the three right-most studs in the wall to the immediate left of the white vinyl window at center.
View looking southeasterly.
The post at the center is another odd assembly of 2x4 and 2x6's. This will be a key loadbearing 6x6 post tomorrow, on Thursday 7-30-09.
The kitchen window is the 3-light unit at center bottom.
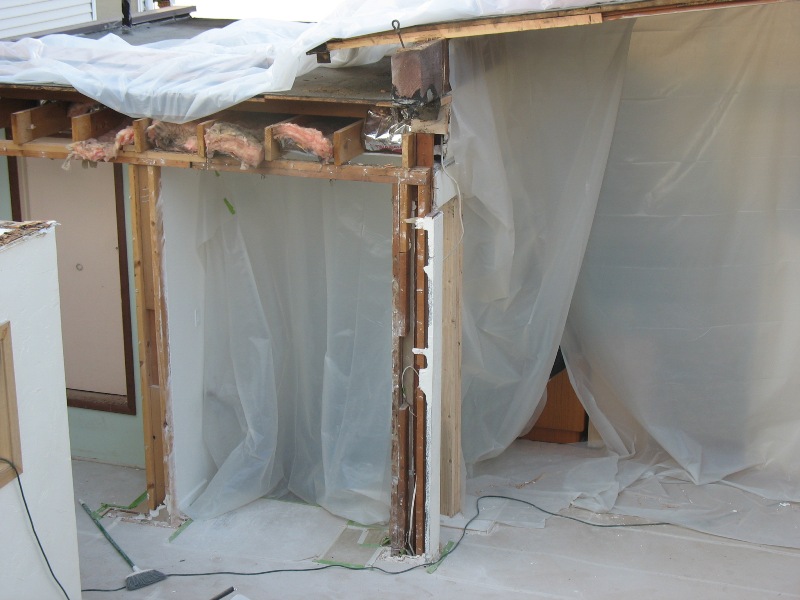
This is a technical view of the cornice structure that will be broken into at the time of replacing the flat roof section.
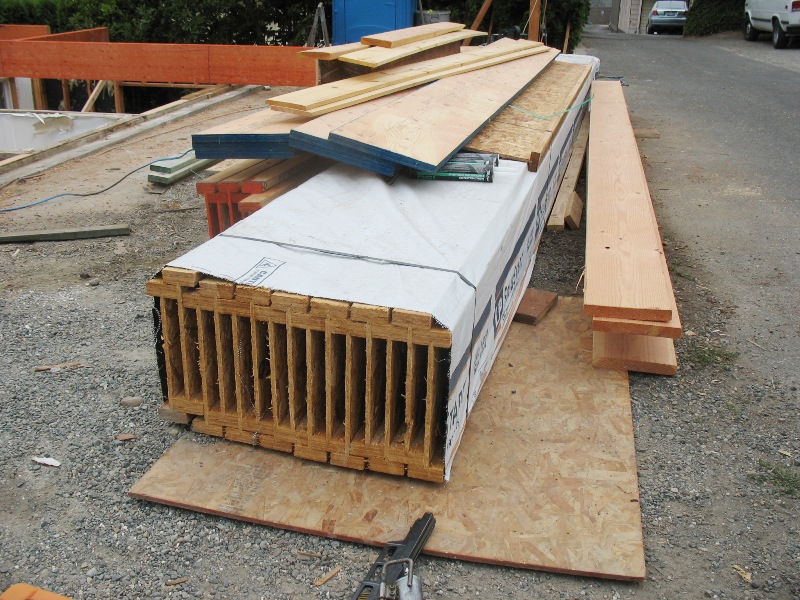
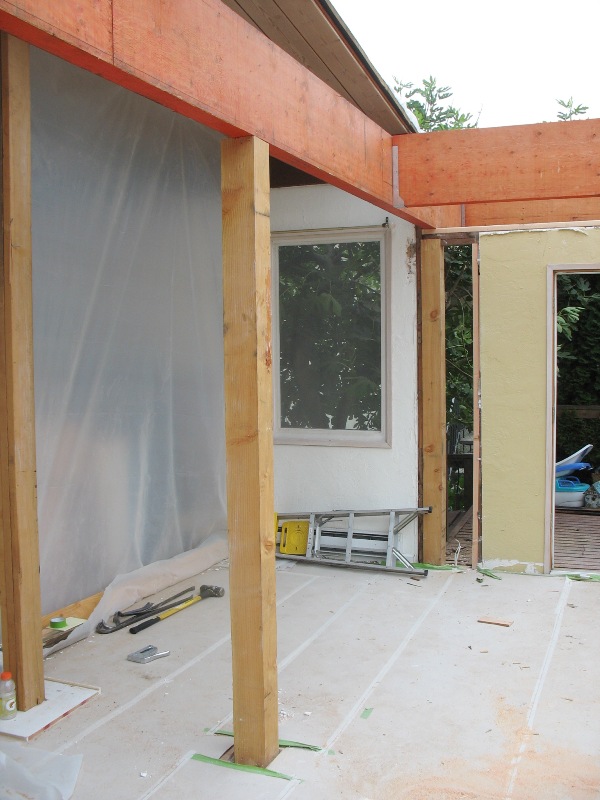
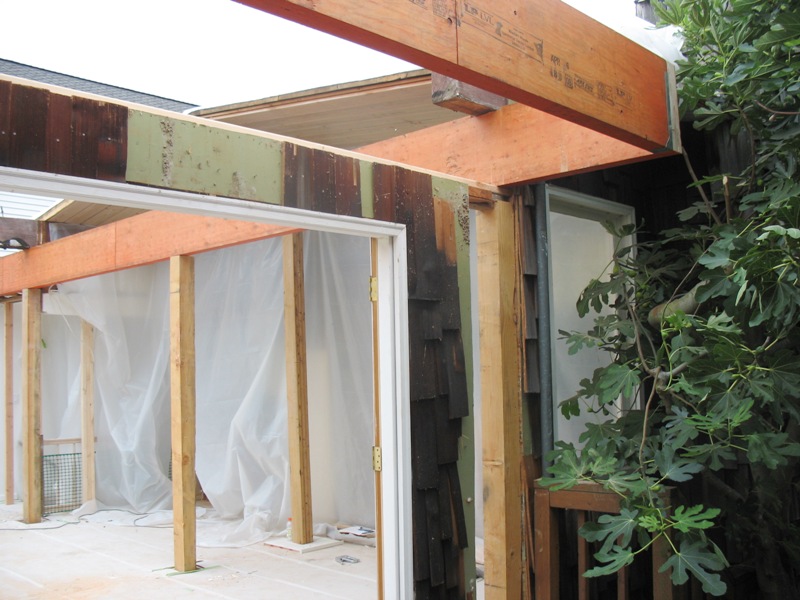
At the beginning of day 10, they had most of the posts & beams set up. These are large "glue lams" about 16x5 inches in section.
Here's what the 16-inch floor joists look like. Most of this engineered wood is from Canada.
The bottom of the main 6x6 post in the middle of the living room.
View from the exterior near the westerly french door looking in. The corner at upper right cantilevers out--the beam heading backwards through the room is one continuous span (around 30 feet).
Summer 09's Porter / Leavitt reunion. Here is John shucking oysters, there were about four who enjoy them raw. Little Jack (14 months) is observing but doesn't have a taste for seafood yet.
Another view, ditto the above.
Here Ryan is shucking one, and Natalie is picking out the next victim.
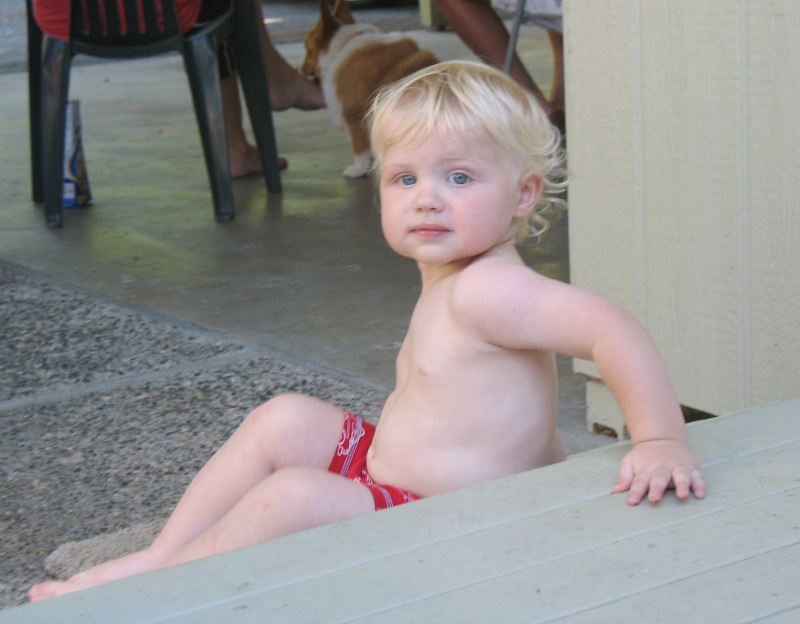
Jack did a fair amount of bumbling and stumbling around, but is surprisingly spry on his feet. He loves to be right in the middle of things.
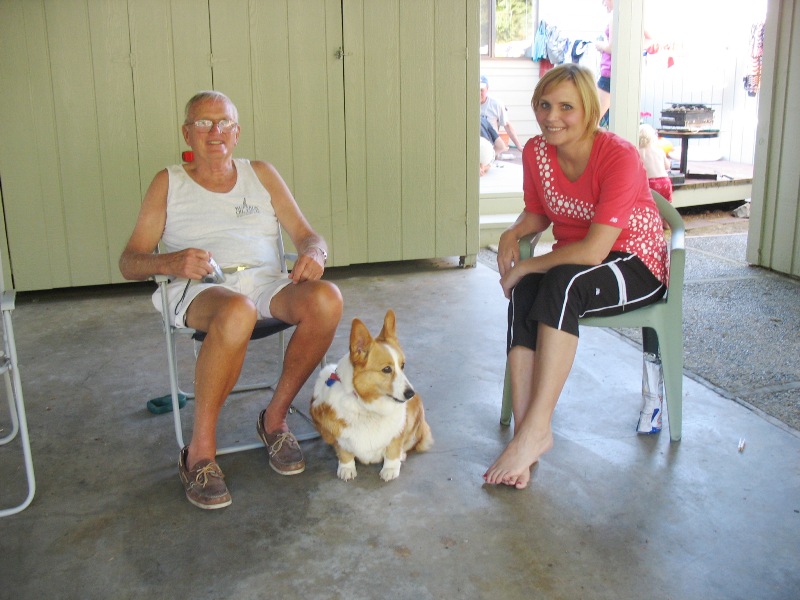
Sam, Daisy, and Sara enjoying a cool spot in the carport, a perfect location when the temperature was in the 90s.
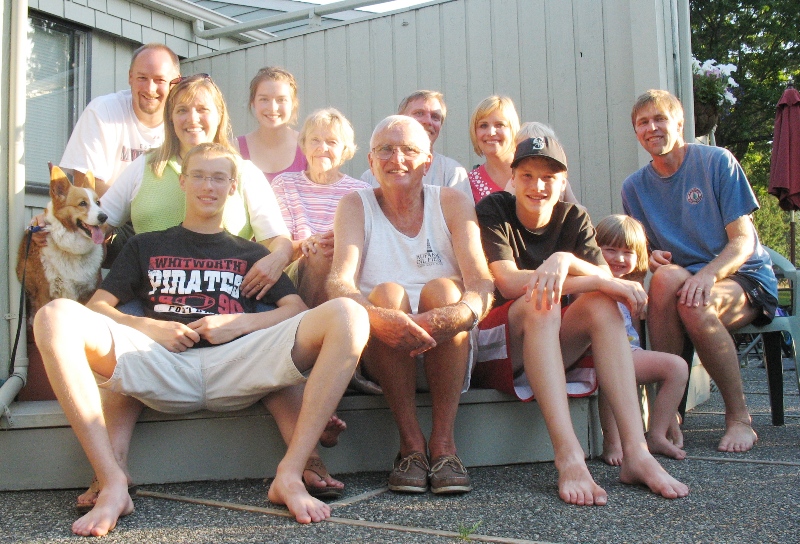
Group picture! Jack's face is hidden behind Daniel's Mariners cap. Please send an E-mail if you have any comments or corrections, or know something we don't!